
Patio Installation Contractors - Carmichael
(916) 553-2299
|
Nowadays, having an outdoor patio installed is very popular, and it’s easy to see why. Artistic patio designs can enhance your property and backyard, and if you like entertaining, they make a great hangout spot.
(916) 553-2299 But like a lot of home improvement projects, the process is a lengthy one and all the information can seem a bit overwhelming sometimes. Should you use concrete, brick or stone pavers? What kind of design do you want them arranged in, and do you want them to be interlocking? What about the color, and the décor? What goes into the installation process, and what about repairs? You see what we mean? That’s a lot of decisions. 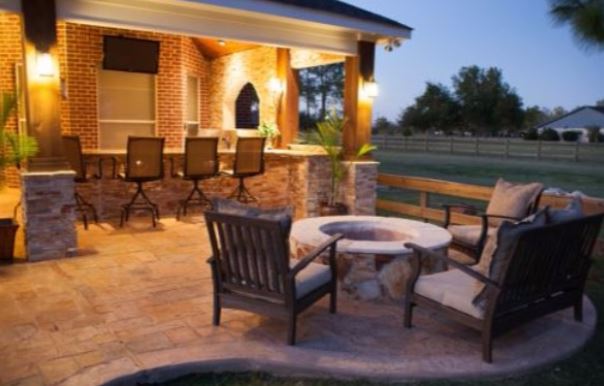
|

|
patio Installers Carmichael, ca
Our company is here to answer all your patio-related questions. We’ve made this handy article for you to refer to that covers the basics of paver installation, and popular patio materials like brick, concrete, and stone. Take a look and see if we answer that pressing question you’ve been worrying about.
(916) 553-2299
(916) 553-2299
What kind of material should I use?
This answer all comes down to your personal preference, but we can certainly give you information that’ll help you make a decision. Most people use concrete, brick, or stone when installing their patio. Choosing which option is right for you can be a hard decision, because price and durability varies with the material.
(916) 553-2299
If you want the most affordable option, concrete is your best bet. A stamped concrete patio (‘stamped’ just means that the concrete is molded to look like natural materials – i.e. stone, brick, or even wood) is estimated to be about 1/3 the cost of installing a patio with other materials. If you’re worried about it looking cheap or fake, don’t be. Nowadays, the stamp molds used to imprint the concrete with patterns and designs are molded from the real material they’re mimicking.
With a vast array of coloring options to add realism, you probably won’t even be able to tell the difference!
Brick is a bit more expensive to install, but in the long run, it looks great and lasts you a lifetime. If you install brick pavers for your patio, they’re capable of withstanding a lot of pressure. What’s more, they can expand or contract along with freezing and thawing cycles without cracking. Unfortunately, concrete can crack due to weather changes after a few years, but if it’s installed properly, the cracks shouldn’t end up being that noticeable. A normal brick patio installation will take us about a week to complete.
Stone pavers look just as attractive as brick or concrete, and like brick, they’re a little more expensive. Sometimes, if they’re irregularly shaped, it can be hard to fit them to the shape of your patio (depending on what the shape is). It might turn out that we need to cut some of them down so that they fit the edge of your patio layout.
Luckily, pavers are pretty simple for contractors to install, if you decide you want a patio made of them. We’ll run through a brief summary of the steps here:
How is a patio made of pavers installed?
- Excavating your installation area
- Laying down the base material
- Installing edge restraints
- Putting down sand
- Installing the pavers
Once everything’s securely in place, we’ll run a plate compactor over the whole patio again, a minimum of three times, so that the pavers are snugly tamped down. The sealant is added after this step, and then everything’s finished! Not so intimidating once it’s all laid out, we hope.
Did this list help you? Please feel free to leave us feedback, or more questions if you have them. We’ll try our best to make your patio installation a smooth one.
(916) 553-2299